Table of Contents
Introduction
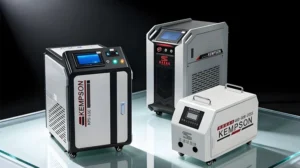
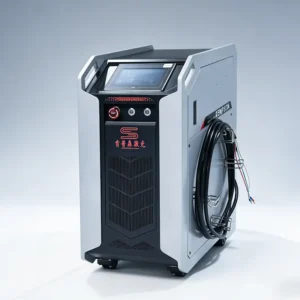
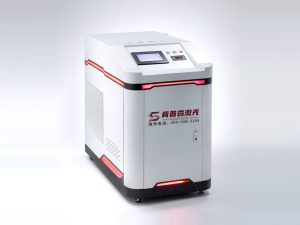
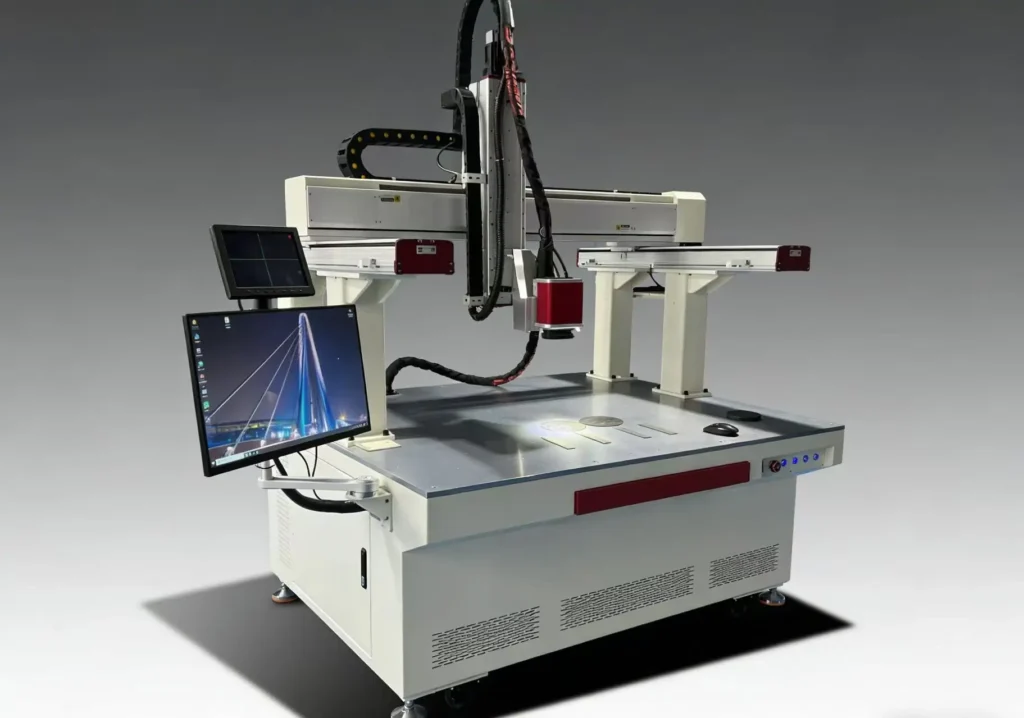
Mold cracks can reduce product quality, lower yield, and cause costly downtime, often making it more economical to repair than to replace. Many manufacturers search for ways to “Fix Die Mold Crack” when restoring damaged molds, and laser welding mold repair has become a preferred method due to its low heat input and reduced deformation compared to traditional welding. It is widely applied in mold crack welding and die repair laser welding, especially for precision molds requiring tight tolerances. Learn About Mold Repair Laser Welding Machines
This guide briefly explains how to fix mold cracks, compares laser welding with traditional methods, and outlines why modern repair techniques are increasingly used in precision mold repair applications.
Main Causes of Mold Cracks
Mold cracks rarely come from a single cause. In most cases, they are the result of multiple factors working together, from material quality and heat treatment to machining, design, and long-term service conditions.
1. Material Defects
Impurities, carbide clusters, and porosity create weak points where cracks easily start under stress.
2. Heat Treatment Issues
Improper quenching or insufficient tempering leaves internal stress that leads to cracking.
3. Machining Stress
EDM, cutting, and grinding can introduce heat and residual stress that increase crack risk.
4. Poor Mold Design
Sharp corners and uneven structures cause stress concentration and early crack formation.
5. Long-Term Fatigue
Repeated thermal and mechanical loads slowly grow small cracks into major damage.
6. Carbide Tooling Fragility
Low-toughness materials are more prone to brittle cracking under working stress.
7. Post-Processing Stress
Wire cutting and poor stress relief leave residual stress that triggers cracking.
Mold cracking is usually the result of accumulated stress rather than one isolated issue. Whether it comes from material defects, processing stress, design weaknesses, or fatigue over time, these factors all increase the risk of failure.
Pre-repair assessment
Before repairing a cracked mold, it’s important to judge whether it can still be repaired. Some molds can be fixed with stable results, while others are already too damaged and may fail again even after repair.
Repair Feasibility Check
| Can Be Repaired | Not Recommended for Repair |
|---|---|
| Small or surface cracks | Mold is already warped or deformed |
| Local, limited damage | Large-area cracking or spreading damage |
| Stable materials like H13, P20, S7 | Severe material damage or burn marks |
| Easy-to-reach crack areas | Cracks in key load-bearing zones |
| No deformation in structure | Mold already warped or deformed |
| Early-stage cracks | Multiple or branching cracks |
| Clear crack position | Hidden or unclear internal cracks |
Shallow, local cracks are usually repairable, while serious damage or structural failure is not. A quick check before repair helps avoid wasted cost and unstable results.
Why Do 90% of Mold Repairs Fail?
Most mold repair failures are not caused by welding itself, but by issues before or after the repair process. In many cases, cracks come back because the real problem was never fully solved.
- Wrong Damage Check: Surface cracks are often only part of the issue. Hidden or deeper cracks are missed.
- Incorrect Material Handling: Different steels like H13, P20, and S7 need different repair settings. Using one method for all leads to failure.
- Too Much Heat Input: High heat from traditional welding can cause deformation and new stress.
- No Stress Control: Residual stress remains after welding and can cause cracks to return.
- Root Cause Ignored: If the original cause is not fixed, such as design or heat treatment issues, the repair won’t last.
- Poor Surface Prep: Oil, oxidation, or incomplete cleaning weakens the repair area.
Most failures come from poor diagnosis, wrong process choice, or untreated stress. A stable repair is not just filling cracks, but controlling the cause and the result.
Advantages of Laser Welding Mold Repair
Mold repair quality depends on heat control during welding. Too much heat can cause deformation, structural changes, and weak repair areas.
· Low heat input – reduces thermal impact on the mold
· Minimal deformation – keeps original mold shape and accuracy
· High precision – suitable for small and complex crack areas
· Strong bonding – stable metallurgical connection after repair
· Good surface quality – less post-processing required
· Works on key steels – effective for H13, P20, S7 and other tool steels
· Local repair capability – only the damaged area is affected, no need to heat the whole mold
· Longer mold life – helps extend service cycle after repair
Compared with TIG welding, laser welding provides better control over heat-affected zones. This helps reduce deformation and improve repair stability and precision.
Tool Steel Laser Welding Parameter Settings
Different tool steels respond differently to heat, so laser welding parameters need to be adjusted based on hardness, toughness, and crack sensitivity.
H13 / S7 Steel Settings
These are hot-work tool steels with high hardness and good thermal resistance, commonly used in molds with high stress.
- Pulse energy: Medium–high for proper fusion without overheating
- Frequency: Medium range for stable melt pool control
- Wire feeding (if used): Match base material composition (often H13/S7 compatible wire)
- Focus on controlling heat buildup to avoid secondary cracking
P20 Steel Settings
P20 is a pre-hardened steel with lower hardness and better machinability, requiring gentler heat control.
- Hardness consideration: Lower energy input compared to H13/S7
- Pulse energy: Low–medium to prevent softening
- Frequency: Moderate for smooth surface repair
- Heat input control: Keep thermal impact stable to maintain original hardness
H13 and S7 require stronger energy control for full fusion, while P20 needs lower heat input to protect hardness. Proper parameter matching is key to stable mold crack repair and long service life.
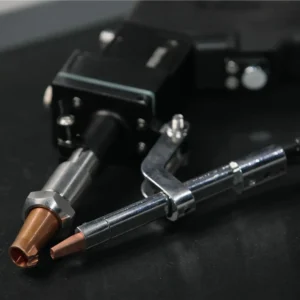
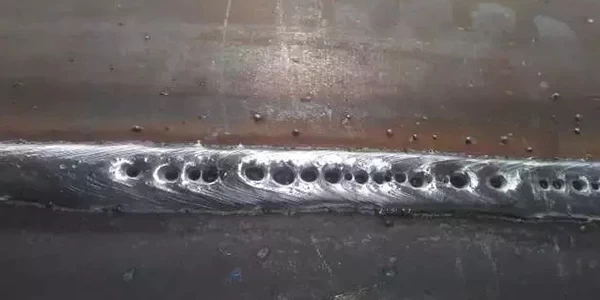
Step-by-Step Mold Crack Repair Process (Laser Welding)
A stable mold repair depends on clean preparation, controlled penetration, and proper layer buildup. Each step affects the final strength and durability of the repaired area.
Step 1: Surface Cleaning
Remove all oil, oxide layer, and residue from the crack area.
A clean surface ensures proper fusion and prevents hidden defects during welding.
Step 2: Root Penetration Welding
Start from the deepest part of the crack and build the repair from the root. (Determining Whether Fillers Are Needed)
This step focuses on filling internal cracks and restoring structural integrity.
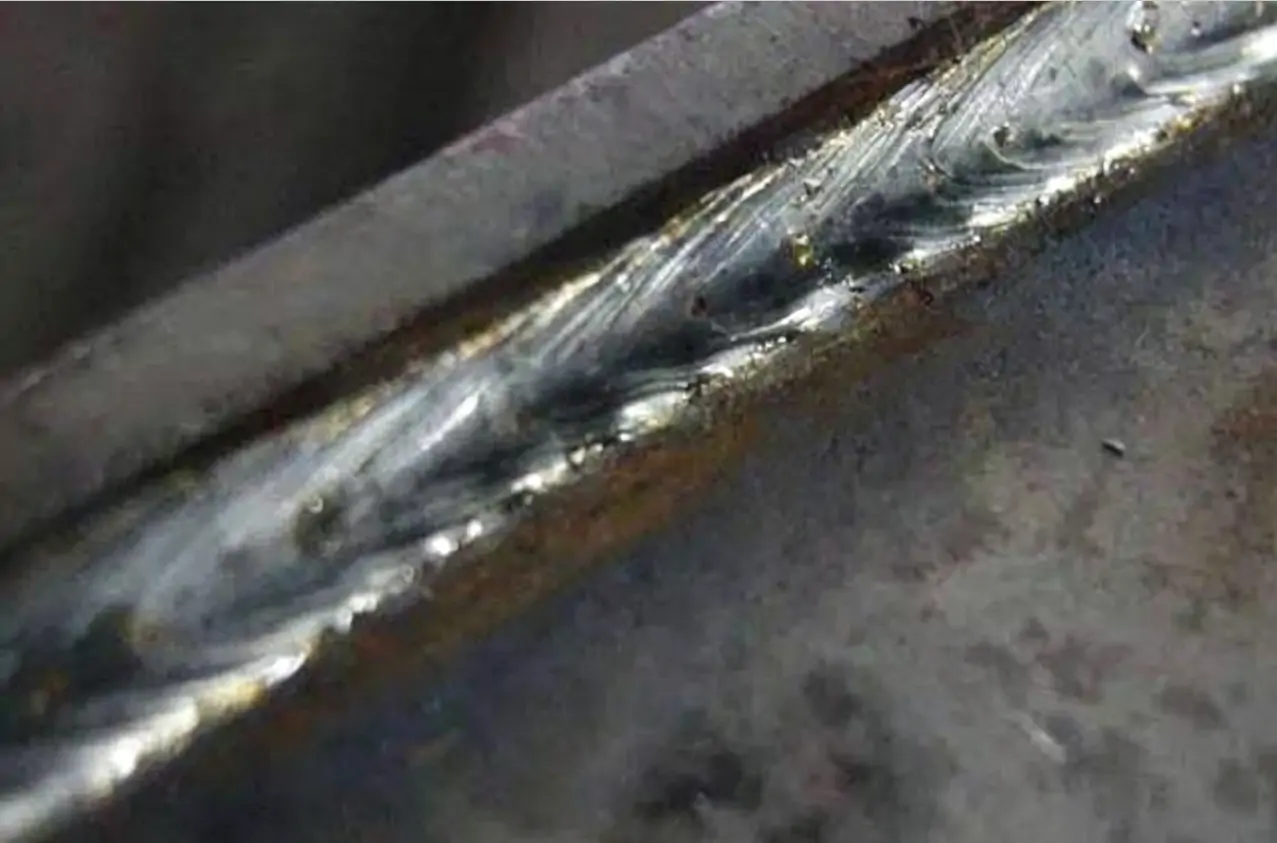
Step 3: Sidewall Fusion
Build up the surrounding crack edges layer by layer.
This improves the bonding strength between the base material and the repaired zone.
Step 4: Surface Capping
Finish with a controlled top layer to restore surface flatness.
Keep the heat stable to reduce marks and minimize post-grinding work.
A proper repair process starts from deep penetration and moves outward layer by layer. Each step controls heat, bonding, and shape, which directly affects the final mold life and stability. Uneven heating is largely related to laser output: QCW laser welding, continuous laser welding, and pulsed laser welding
Common Defects and Fixes in Mold Laser Welding
Laser welding mold repair can still produce defects if cleaning, heat control, or filling is not properly managed. Below are the most common issues and practical solutions.
Porosity (Gas Pores)
Small holes appear in the weld zone due to trapped gas.
- Improve surface cleaning before welding
- Check shielding gas flow and purity
- Avoid contamination from oil or oxidation
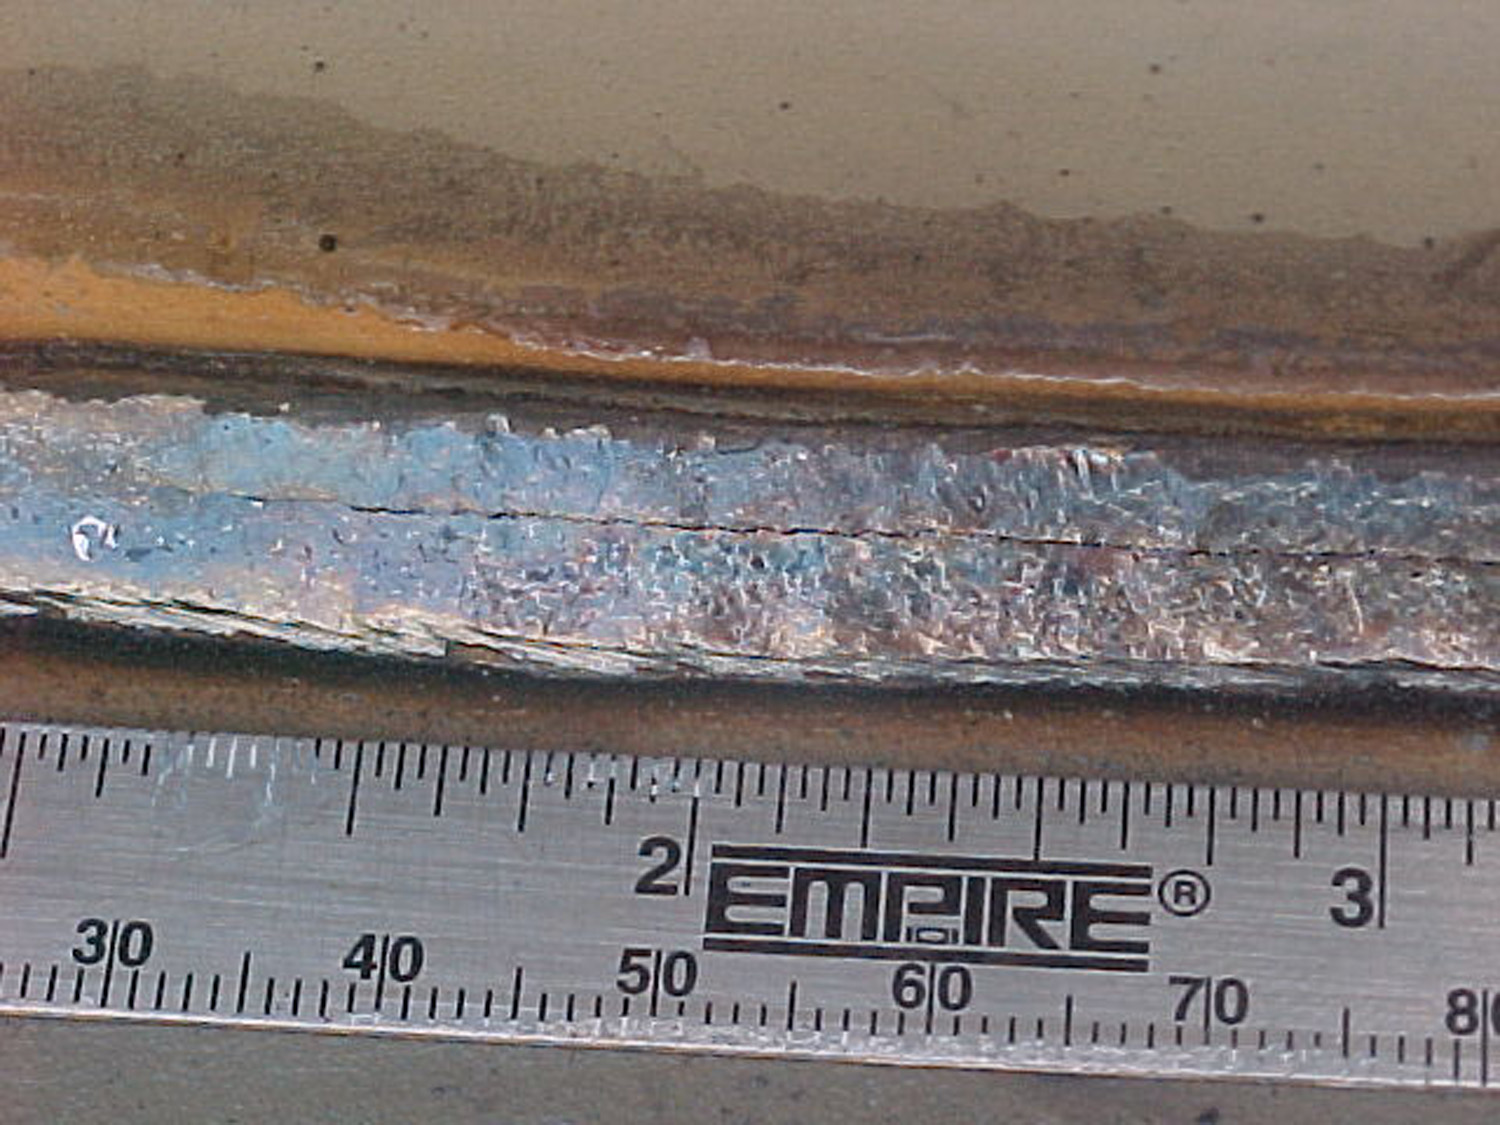
Cracking (Re-Cracking)
New cracks form after repair or during cooling.
- Reduce heat input and control cooling rate
- Avoid excessive hardness buildup in the weld zone
- Match parameters with base material (H13, P20, S7)
Sink Marks (Depression)
The surface becomes uneven or slightly sunken after welding.
- Improve filler material feeding
- Build up layers evenly during welding
- Adjust energy to avoid incomplete filling
Most defects come from poor cleaning, unstable heat control, or uneven filling. Careful setup of surface prep, parameters, and layer control helps improve repair quality and stability.
Laser Welding vs TIG (Argon Arc) for Mold Repair
Both methods are used in mold repair, but they perform very differently in precision, heat control, and final quality. For more differences between laser welding and TIG welding, read these articles: Laser Welding vs. Traditional Welding, Handheld Laser Welding vs. MIG Welding
| Comparison Item | Laser Welding | TIG Welding |
|---|---|---|
| Heat Input | Low, focused heat on a small area | Higher heat spreads wider into the base material |
| Deformation Risk | Minimal deformation, suitable for precision molds | Higher risk of warping and size change |
| Repair Precision | High accuracy for small cracks and detailed areas | Better for larger, less precise repairs |
| Heat Affected Zone (HAZ) | Narrow heat-affected zone | Wider heat-affected zone, more structural change |
| Post-Processing | Less grinding and finishing required | More machining is often needed after repair |
| Material Compatibility | Works well with H13, P20, S7 and precision tool steels | More flexible for general fabrication, but less stable for fine molds |
Laser welding is better suited for precision mold repair due to lower heat input, smaller heat-affected zone, and better control of deformation. TIG welding is more common for general repairs, but less ideal for high-accuracy molds.
Safety Considerations
Safe operation comes first in laser welding mold repair and helps keep the process stable while protecting the operator.
- Eye protection: Use proper laser safety goggles during operation
- Heat protection: Avoid direct contact with hot work areas after welding
- Ventilation: Ensure good airflow to remove fumes and particles
- Stable setup: Fix the mold properly to prevent movement during welding
- Operator control: Keep hands and tools away from the laser path
Good safety practice reduces risks during work and keeps the welding process under control.
Post-Processing Steps
After welding, finishing work is needed to bring the mold back to proper shape, surface quality, and working condition.
- Grinding and polishing: Remove excess material and restore surface smoothness
- Dimensional check: Ensure the repaired area meets the original mold size
- Stress check: Inspect for signs of new cracking or weak zones
- Surface finishing: Match the repaired area with the surrounding mold texture
- Final cleaning: Remove dust, debris, and polishing residue
Proper finishing helps the repaired area match the original mold and supports stable long-term use.
Applications
Mold laser welding repair is used across many industries where molds need precise maintenance instead of full replacement.
· Injection molds – crack repair, wear correction, and cavity surface restoration
· Die casting molds – fixing heat cracks and erosion damage in high-temperature areas
· Stamping dies – edge repair and local wear recovery after long production cycles
· Precision molds – small crack repair with strict tolerance control
· Automotive molds – structural repair for high-load and high-cycle tooling
· Plastic product molds – surface defect repair and texture restoration
· Tool & die maintenance shops – general repair work to extend mold service life
Laser welding is widely used in different mold repair applications where precision, low deformation, and local repair capability are required.
Conclusion
Mold cracks are a common issue in production, but most of them can be repaired if they are handled early with the right method. From understanding crack causes, checking repair feasibility, and choosing proper laser welding parameters, to following a step-by-step repair process, each stage plays a role in extending mold life and keeping production stable. Compared with traditional methods, laser welding offers better control, lower deformation, and more reliable results for precision mold repair.
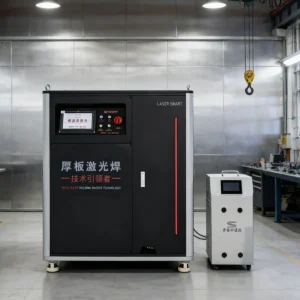
For stable and efficient mold repair solutions, KEMPSON provides laser welding equipment designed for H13, P20, S7 tool steels and other industrial applications. If you are looking to improve mold repair quality or reduce downtime, contact us to get more technical support and solutions tailored to your production needs.
FAQS
Can all mold cracks be repaired with laser welding?
No. Small and surface cracks can usually be repaired, but deep cracks or severely deformed molds are often not suitable.
What mold steels can be repaired?
Common steels include H13, P20, and S7. Each material requires different welding parameters for stable results.
Is laser welding better than TIG welding for mold repair?
Yes, for precision molds. Laser welding has lower heat input and less deformation compared to TIG welding.
How deep can laser welding repair mold cracks?
It depends on the crack size and machine power, but it is mainly used for localized and controlled depth repairs.
Will the repaired area crack again?
It may happen if heat input is not controlled or if the root cause of the original crack is not addressed.
Does mold need post-processing after laser welding?
Yes. Grinding, polishing, and surface finishing are usually required to restore accuracy and appearance.
Why do mold cracks happen after heat treatment?
It is often caused by internal stress, improper cooling speed, or insufficient tempering.
Can laser welding extend mold life?
Yes. Proper repair can restore damaged areas and extend service life when done correctly.